How To Screen Print A Shirt
When showing customers a walkthrough of our apparel-printing facility, we often hear people express surprise at how in-depth the printing process can be. There are multiple steps required for screen printing a shirt, tank top, or hoodie, so we thought we’d provide a step-by-step explanation of the process. If you’ve ever wondered how to screen ...
Mark Anderson
When showing customers a walkthrough of our apparel-printing facility, we often hear people express surprise at how in-depth the printing process can be. There are multiple steps required for screen printing a shirt, tank top, or hoodie, so we thought we'd provide a step-by-step explanation of the process. If you've ever wondered how to screen print a shirt, wonder no more!
Step 1: Artwork
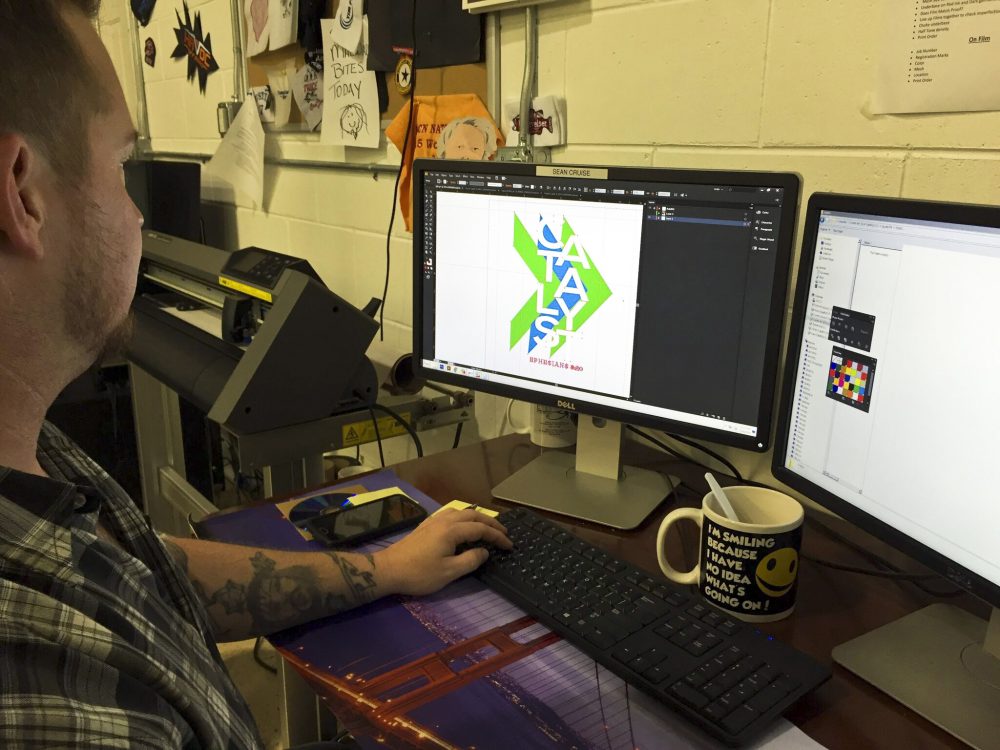
After receiving a design or concept from a customer, our first step is to create the artwork which then goes onto the screen itself (more on the screens later.) For designs with multiple colors, each color must be separate into its own "layer." Each layer requires a separate screen when the shirt is printed.
Here, Sean works on a design on the computer in the warehouse.
Step 2: Screens
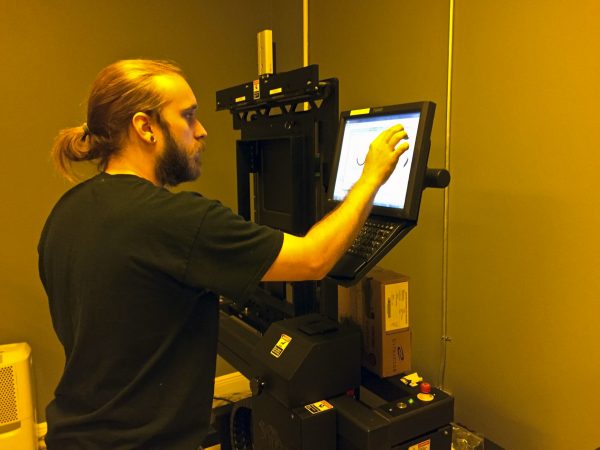 As we mentioned before, each color in a design requires a separate screen. Here, Adam prepares to burn a design into a screen. The weird yellow light is necessary to prevent overexposing the screens during the process, which would render them unusable.
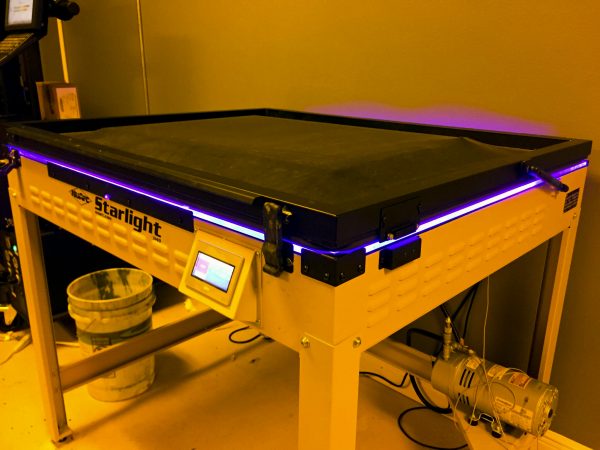 Screen exposure unit or portal to another dimension? This machine exposes the screen to high amounts of light, “burning” the design into the screen. After burning, the screens are washed and dried, then are ready to use!
Bonus Gifs:
Step 3: Printing
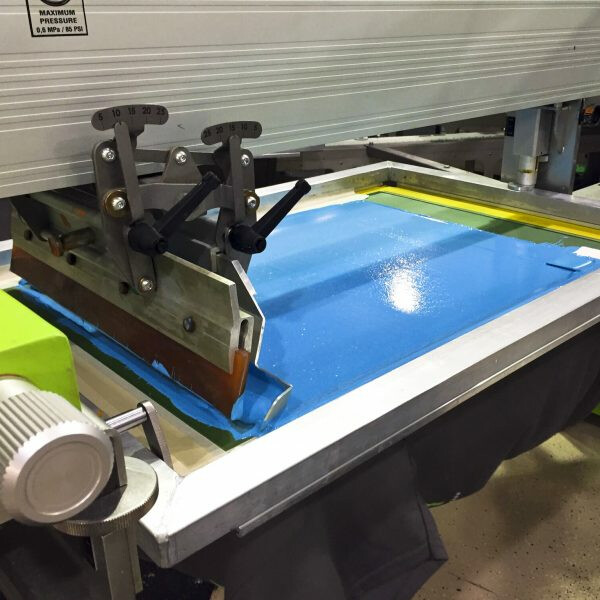
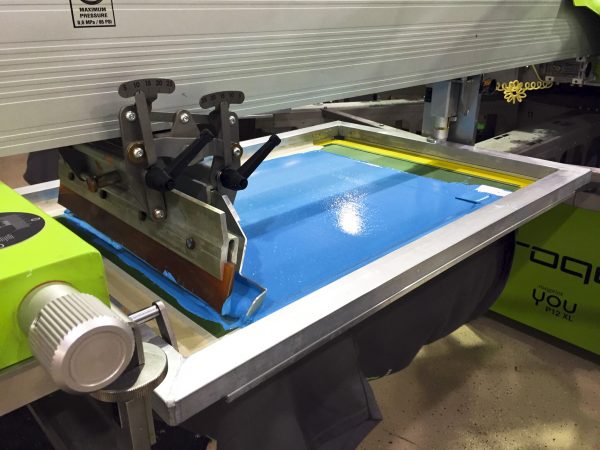 As the shirts make their way around the screen printing press, squeegees apply each individual layer of color. Our automatic machine applies an even coat of ink each time, removing any human errors that may happen with a manual press!
Bonus Gifs:
Step 4: Drying
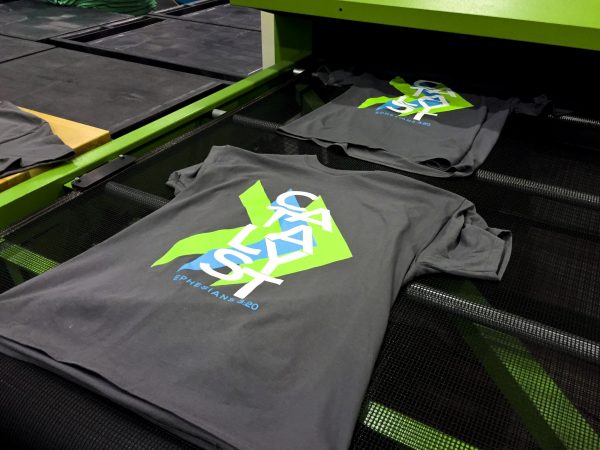 After printing, each shirt goes through the dryer at least once to cure the ink and fully bind it to the fabric. The dryer reaches temperatures up to 300 degrees Fahrenheit and also bakes an excellent frozen pizza (not that we’ve ever tried, of course.)
Step 5: Packaging
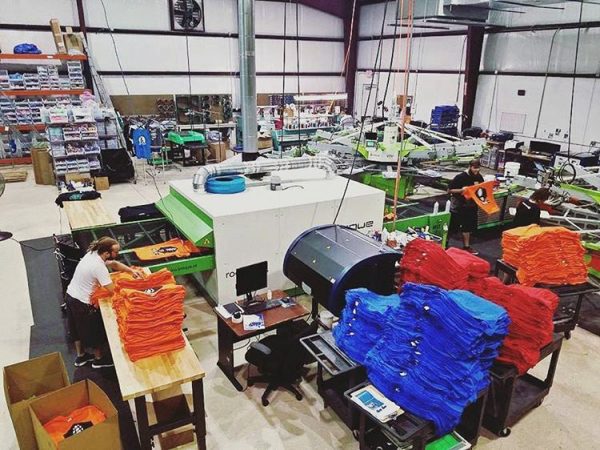 After exiting the dryer, one of our crew members stacks and folds the shirts. Now they are ready for packaging and shipping on their way!
And there you have it! Those are the steps we follow when screen printing a shirt. We have a great crew that’s passionate about what they do, and we couldn’t be more proud of our shirt-printing facility. Thanks for reading along!
Get started on your own custom screen printed apparel by clicking HERE.
